Season 15  ·  Hell's Legacy  ·  Patch 3.2.1

Bosses

Lair bosses, what key opens each Hoard, and how the fight works. The fight itself is free. You spend a key only when you open your own Hoard. Unique tables live on Farming.

Season 15Patch 3.2.1Updated Sept 2026

01 · Lairs

How Lair bosses work

Torment 1 or higher. Walk into the Lair and fight for free. When the boss dies, a Hoard appears. Each player spends their own key to open their own Hoard. Learn the fight before you burn keys on it.

Difficulty
Torment 1+
Fight
Free
Hoard
Your own key
Initiate
1× Lair Key
Greater
1× Greater Lair Key
Superior
1× Superior Lair Key
Activity
Sigil / Compass

Belial Ambush → Superior Key

A rare Belial ambush can fire after you open an Initiate or Greater Hoard. That Ambush is the usual route to a Superior Lair Key for the Palace of the Deceiver fight.

Belial key cost

One Superior Lair Key opens Belial's Hoard. Older guides may still say two Betrayer's Husks. Those Husks were renamed Superior Lair Keys, and the cost is one.

For Unique drop tables, use Farming.

02 · Initiate

Initiate Lairs

One Lair Key opens the Hoard. Five bosses. Urivar needs Vessel of Hatred.

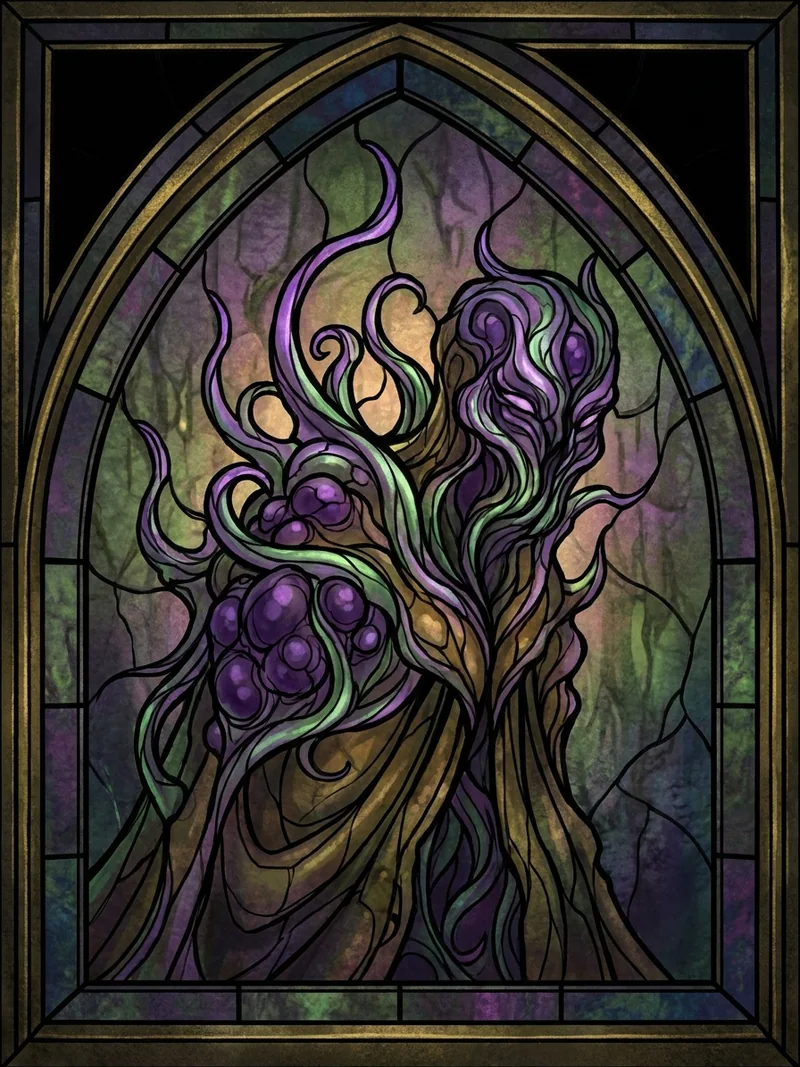
Echo of Varshan

Initiate · 1× Lair Key

Varshan was Cormond's mentor until Lilith's corruption took their village. A failed Cage of Binding ritual burst the malignancy out and seeded the Malignant plague. The endgame Echo under the Tree of Whispers in Hawezar is the repeatable Lair form of that threat.
Fight

  • Where: Malignant Burrow by the Tree of Whispers (Hawezar). Torment 1+. Boss Lair icon once discovered.
  • Resist: Armour and Shadow Resistance. Kit is Shadow / Physical.
  • Tentacles: Melee tendrils and putrid projectiles. Step behind him.
  • Putrid Dance: Pink floor tiles explode. Leave the highlighted tiles. Three patterns.
  • Summon Malignance: Three Malignant minions. Kill the one he channels toward before he absorbs it, or he gains a dangerous buff. On Season 8+ those become seeking projectiles.

Uniques: Farming table for Echo of Varshan.

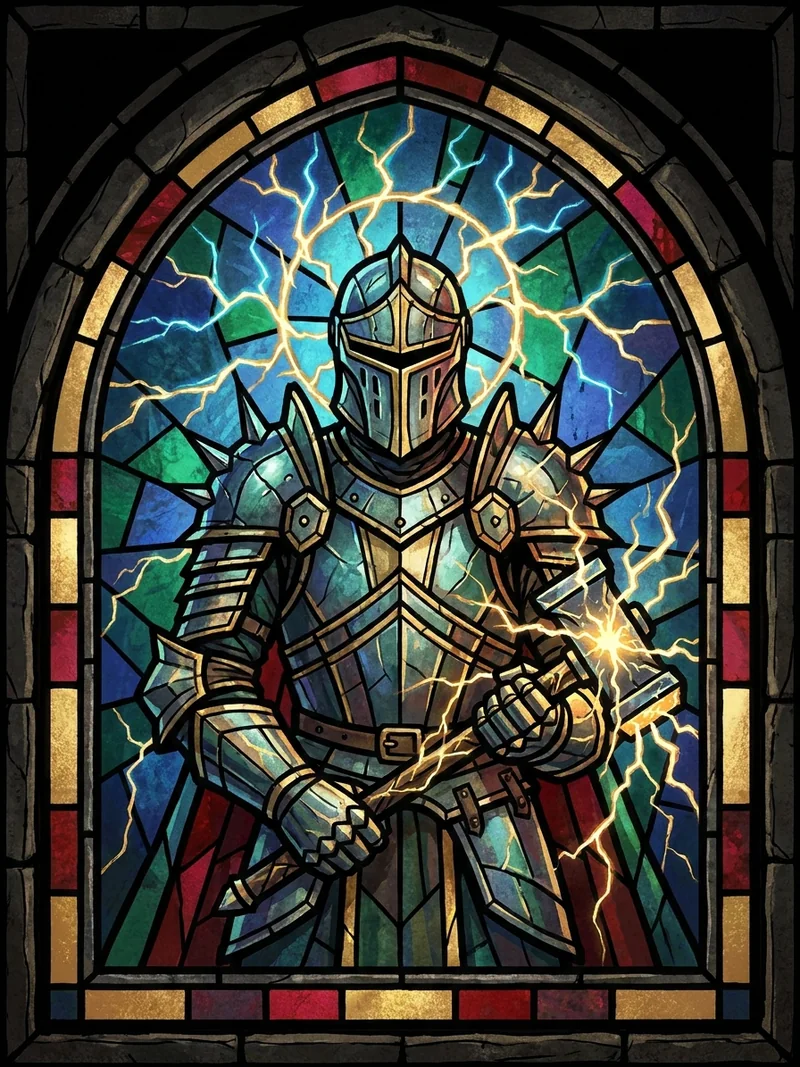
Grigoire, the Galvanic Saint

Initiate · 1× Lair Key

Galvanic executioner in the Hall of the Penitent, south of Ked Bardu in the Dry Steppes. He showed up with Season of Blood as a farmable Lair; the season story was about Lord Zir, not him.

Fight

  • Where: Hall of the Penitent, south of Ked Bardu. Torment 1+.
  • Resist: Lightning Resistance.
  • Entry: Electrified tiles on spawn. Spark swings leave floating sparks; Empowered knocks you back into pylons if you let it.
  • Thunderous Blow: Red circles, then Lightning strikes. Knights Penitent ring him; AoE them down.
  • Later: Charged Pylons beam the room. Galvanic Ascendance: he leaves, charges nine floor tiles (seven live, two safe), then crashes back. Stand on a safe tile. Unstoppable helps against knockback into beams.

Uniques: Farming table for Grigoire, the Galvanic Saint.

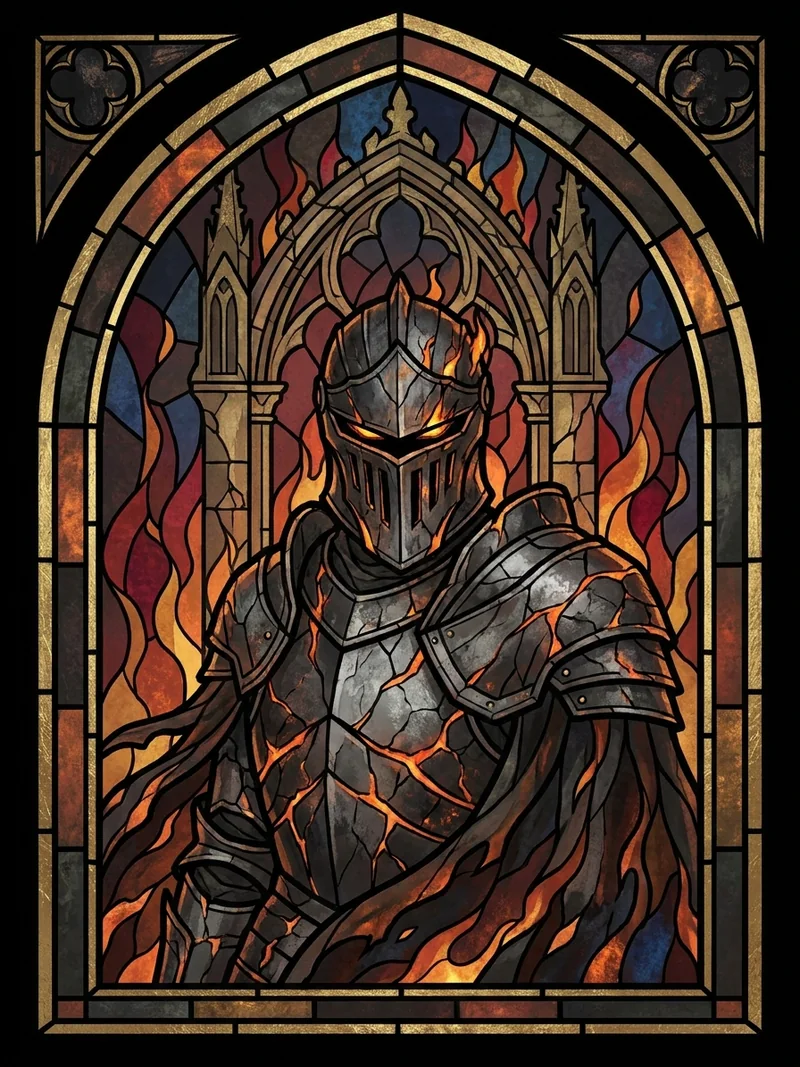
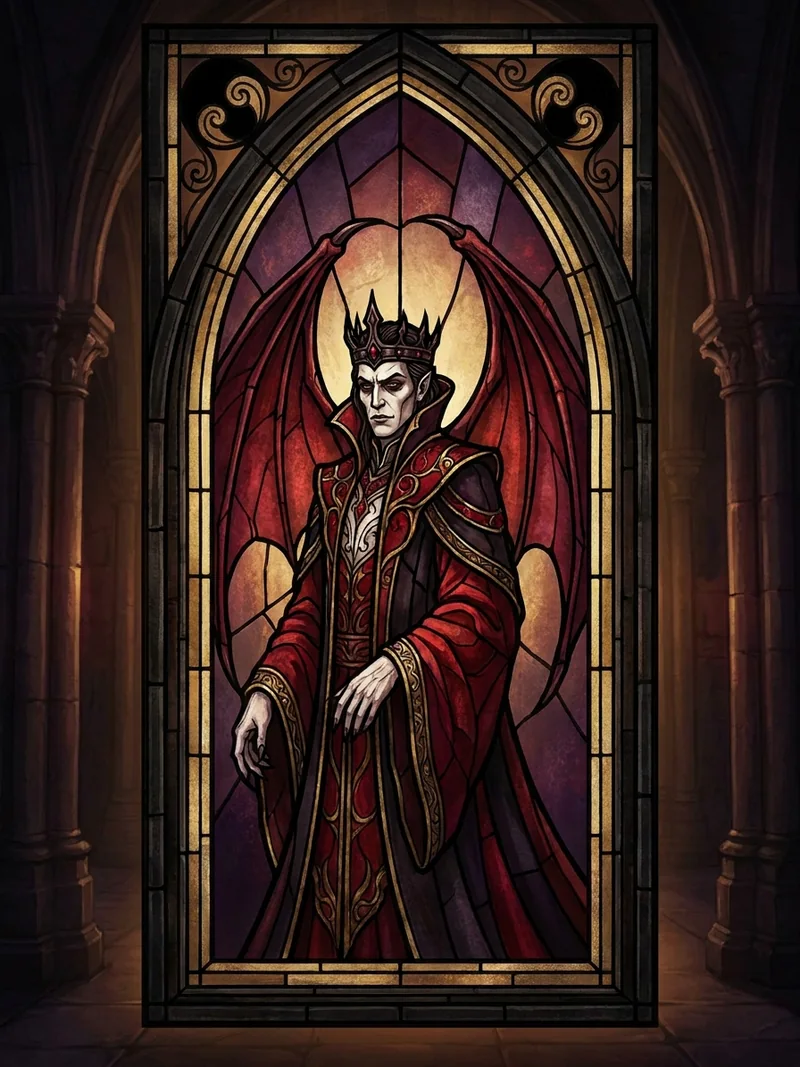
Lord Zir

Initiate · 1× Lair Key · Dark Master

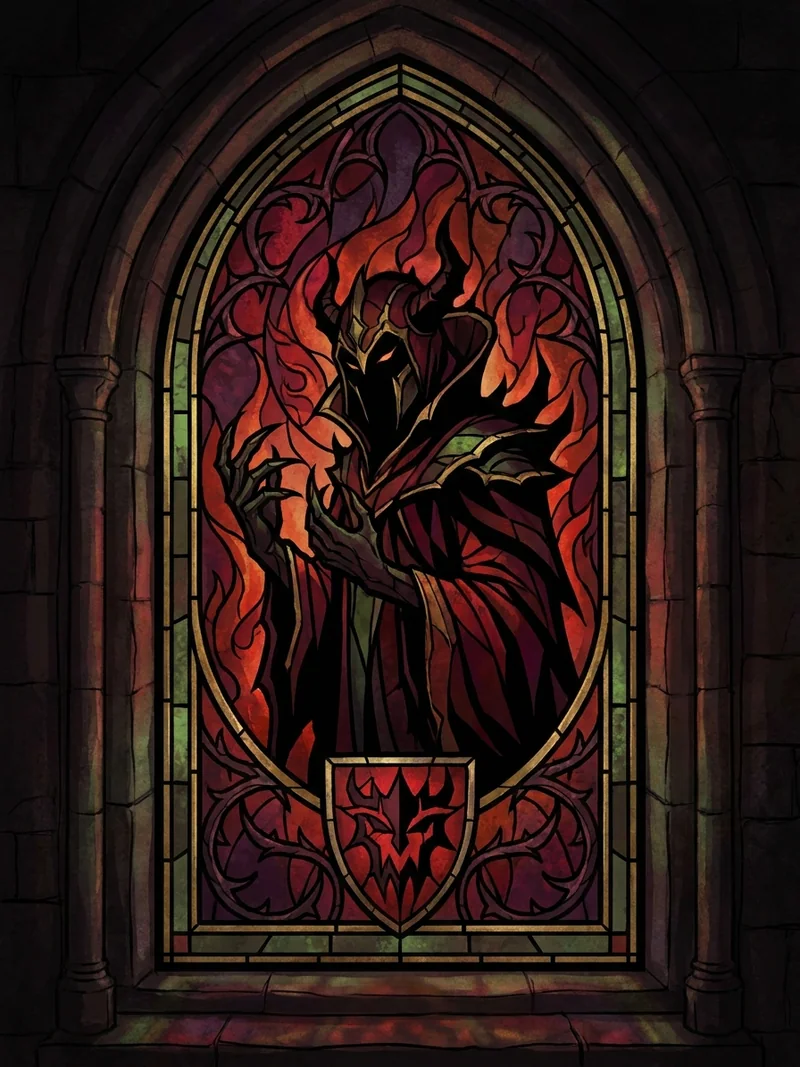
Season of Blood's newly turned vampire army answered a Dark Master. That master is Lord Zir, an Ancient vampire from before humans. The Lair at the Ancient's Seat is the repeatable endgame echo.

Fight

  • Where: Ancient's Seat in the Darkened Way (east of Kyovashad; Yelesna route). Torment 1+.
  • Resist: Armour and Fire Resistance.
  • Basics: Slap, Blood Rain puddles, Blood Talons (rear up; step behind). Wing Blast tracks then locks; step out.
  • Adds: Blood Orbs (bats, mages, or blood waves). Blood Seekers join later. Empowered Blood Rain puddles shoot Vulnerable projectiles when he is lower.
  • Do: Stay off puddles and waves. Burst Seekers. Use kill effects on packs.

Uniques: Farming table for Lord Zir.

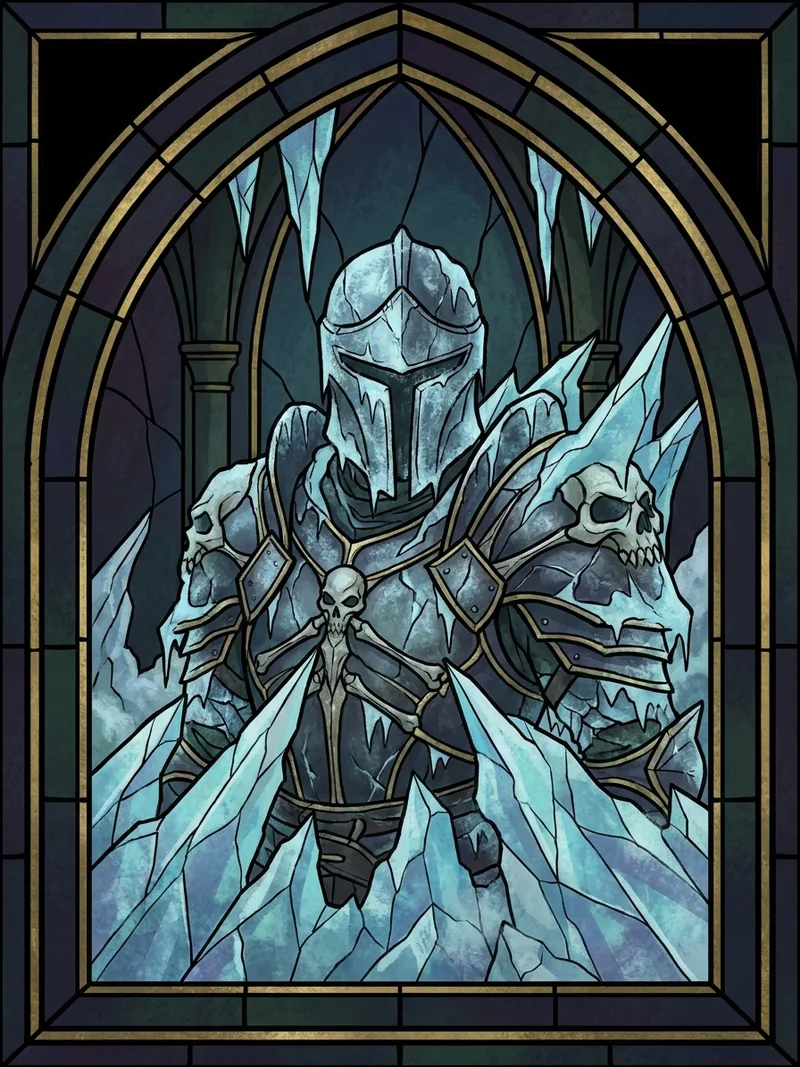
The Beast in the Ice

Initiate · 1× Lair Key

Frost-bound knight horror under Fractured Peaks. He came in with Season of Blood as a farm target. The Glacial Fissure fight shrinks the arena as the blizzard closes in.

Fight

  • Where: Glacial Fissure, south / southwest of Kyovashad. Torment 1+.
  • Resist: Armour and Cold Resistance. Keep Unstoppable ready versus Freeze.
  • Phase 1: Frozen Strike (sword + ice crystals), Icy Breath (frontal cone), Frostquake pools, Leap Attack (slam + spike ring).
  • Intermissions: Boss goes invulnerable. Blizzard constricts the arena. Kill exploding adds. Strafing Run ice waves: find the safe lane, or Unstoppable if Freeze would pin you in the storm.
  • Later: Icy Hail (targeted explosions into waves). Arc around him. Never get Frozen into the storm.

Uniques: Farming table for The Beast in the Ice.

Urivar

Initiate · 1× Lair Key · Vessel of Hatred

A former Knight Penitent who survived Inarius's failed assault on Hell. He leads the Burned Knights and hunts Neyrelle's circle in Vessel of Hatred. The Fields of Judgement Lair is the Torment farm. VoH owners only for this Lair.

Fight

  • Where: Fields of Judgement, Nahantu (west of Kichuk). Torment 1+. Needs Vessel of Hatred.
  • Resist: Armour and Fire Resistance.
  • Abilities: Rain of Justice (spear trail under you; circle tightly). Unleash Justice (attach + sword volley). Overhead Strike leaves fire DoT ground. Desperate Prayer: eight pulsing spears; do not stand between spears and boss.
  • Later: He vanishes; Knights Penitent join three at a time with Elite affixes. Focused Fire: three Knights line fire across the arena (green telegraph). Stay mobile; clear Knights; leave Overhead ground fire.

Uniques: Farming table for Urivar.

03 · Greater

Greater Lairs

One Greater Lair Key opens the Hoard. Four bosses. Harbinger needs Vessel of Hatred.

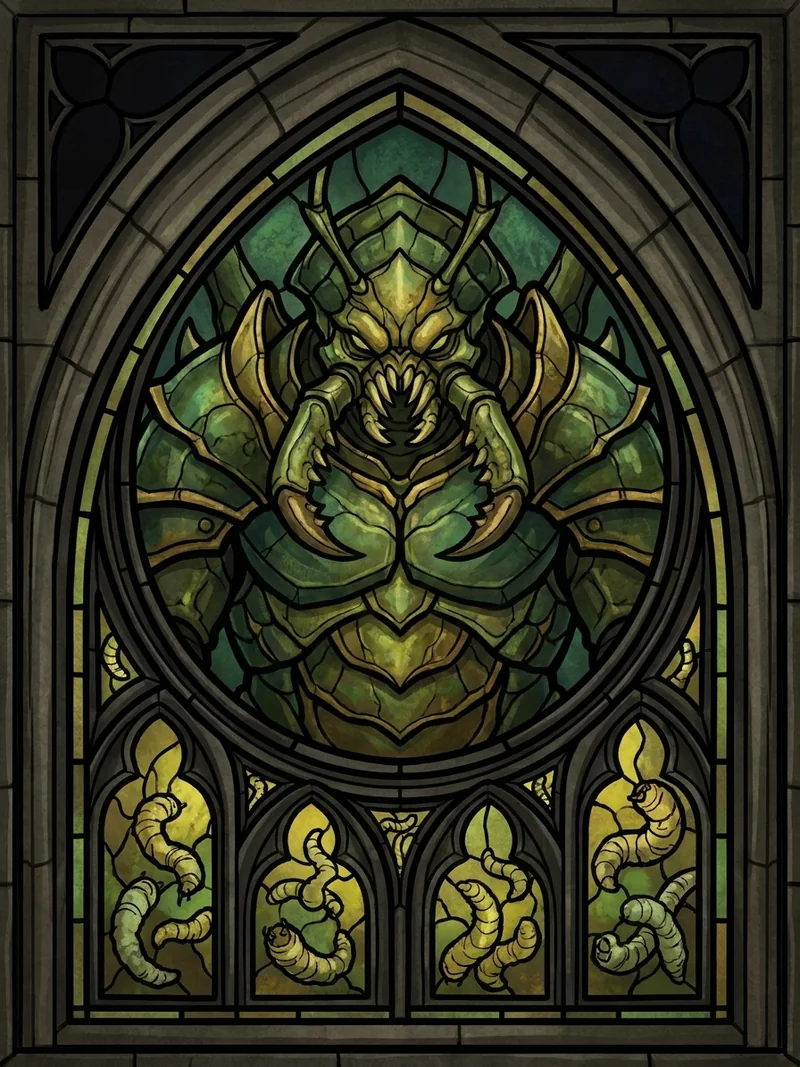
Duriel, King of Maggots

Greater · 1× Greater Lair Key · Lesser Evil

One of the four Lesser Evils, historically the Lord of Pain and brother to Andariel. Diablo II put him in the Tomb of Tal Rasha. Diablo IV returns him as King of Maggots in the Gaping Crevasse, Kehjistan.

Fight

  • Where: Gaping Crevasse, east of Gea Kul. Torment 1+.
  • Resist: Poison Resistance.
  • Abilities: Poison Strike and Slam (pool + circular projectiles; leave impact, stay mid-range). Expel Waste: dodge between projectiles. Rain of Maggots needs AoE clean-up. Rampaging Charge: leave his path. Later Claw Spike is a harder slam without pools.
  • Pangs: Twice in the fight he burrows and summons three Pangs of Duriel. Kill them to force him up. While burrowed he chases underground; standing in that chase is extremely dangerous. Kill Pangs fast. Respect the charge.

Uniques: Farming table for Duriel, King of Maggots.

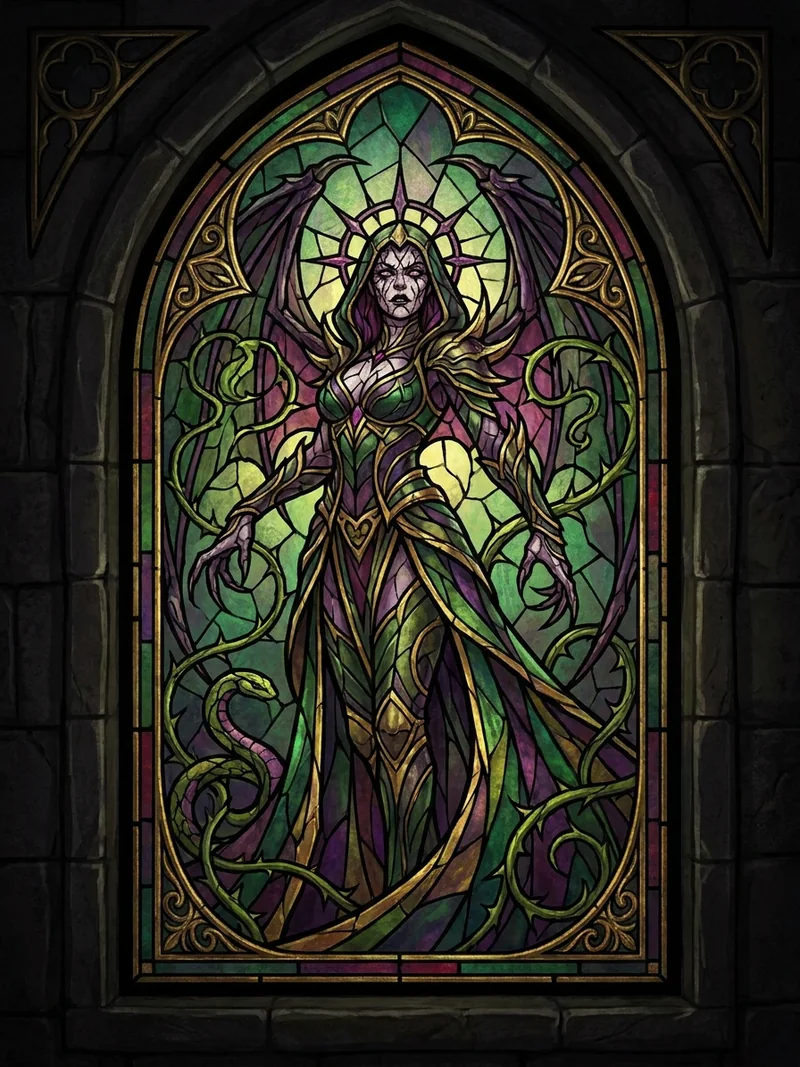
Andariel

Greater · 1× Greater Lair Key · Maiden of Anguish

Maiden of Anguish, sister to Duriel, and the first big demon boss most people met in Diablo II. The Torment Lair sits in Hanged Man's Hall in Kehjistan.

Fight

Some fight guides call the Torment form an Echo. On this site the name is Andariel.

  • Where: Hanged Man's Hall, east of Tarsarak. Torment 1+.
  • Resist: All Resistance. Hits apply stacking Tormented (you take more damage). Avoid getting hit.
  • Basics: Arm strike with delayed blood cones. Heavy Attack knocks you back into delayed blood groups; mind what is behind you. Poison Nova: stand in the gaps, never at the origin. Ground Circles: stand just outside the first ring; do not get pushed into the next.
  • Intermissions: She vanishes. Destroy three Effigies of Anguish (Suppressor fields). Arena hazards stack: edge Dust Storm, rotating Lightning Sparks, later Blood Stripes, Green Phantoms that explode in melee, and a Giant Laser. After the second intermission, two skulls linked by a rotating Fire Beam bisect the room. Clear Effigies. Manage shrinking safe space.

Uniques: Farming table for Andariel.

Harbinger of Hatred

Greater · 1× Greater Lair Key · Vessel of Hatred

Shadow-corruption servant tied to Mephisto's influence in Nahantu. Harbinger's Den sits south of Kurast Docks. VoH owners for this Lair.

Fight

  • Where: Harbinger's Den, Nahantu (Kurast Docks waypoint). Torment 1+. Needs Vessel of Hatred.
  • Resist: Shadow Resistance.
  • Abilities: Devastating Crunch (step beside when jaws open). Mephisto's Corruption (three detonating circles into void zones; leave early). Corrupted Barrage (fire-in-mouth telegraph; flank or go behind). Orbs of Hatred (slow projectiles). Hateful Lunge through a portal; leave the path.
  • Gates of Malice: Kin charge from gateways and kill on contact. Use Akarat's power in the arena to destroy gateways. Leave charge lanes. Never tank the runners.

Uniques: Farming table for Harbinger of Hatred.

The Butcher

Greater · 1× Greater Lair Key

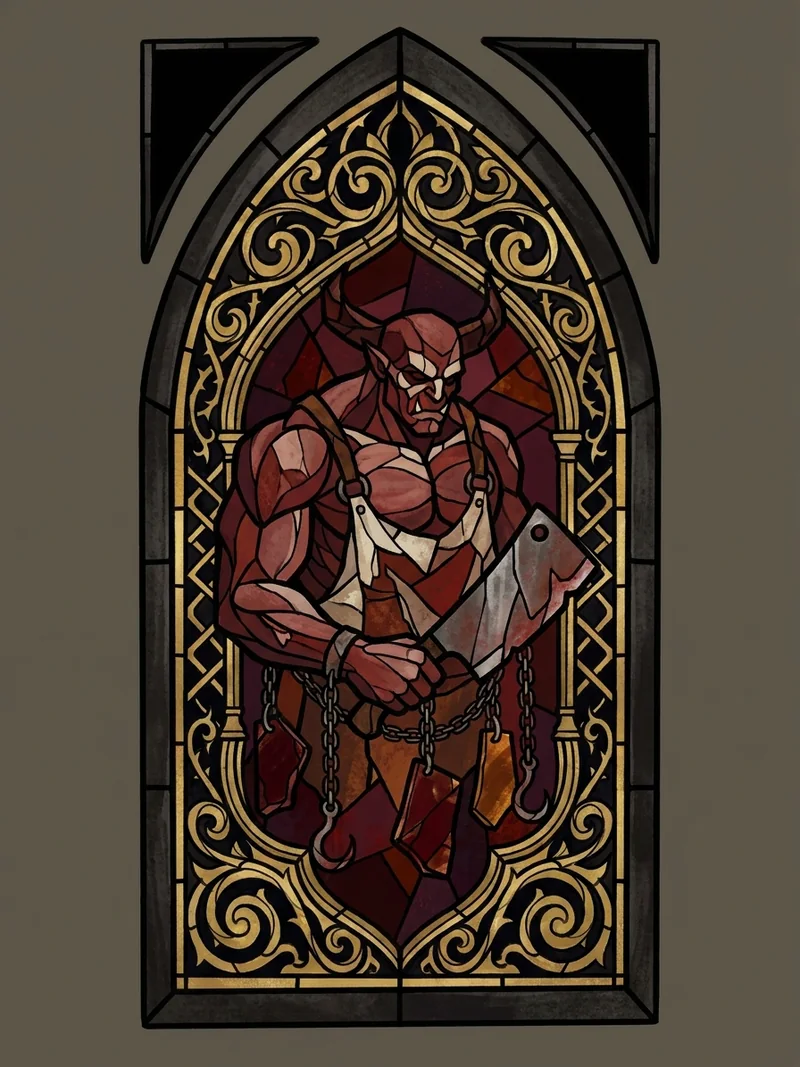
Lazarus lured Tristram townsfolk into the cathedral catacombs to die at the Butcher's hands while Diablo recovered. He keeps showing up across the franchise. As of the Lair ladder he also holds a Greater Lair at The Broiler in Gea Kul.

Fight

  • Where: The Broiler, Gea Kul. Torment 1+. Fight free; one Greater Lair Key opens the Hoard.
  • Resist: Fire Resistance. Do not stand in fire.
  • Phase 1: Hooked! pulls you in. Three Pound Combo (lunge, fireballs, then slashes leaving fire trails). Charge knockback. Instant Cooking fire bursts. The Floor Is Lava: segments light anti-clockwise; more segments as he drops; pauses while Staggered, then recasts.
  • Intermission: Teleports centre, Immune, channels five rotating fire beams with gaps. Weave the gaps. Watch Floor Is Lava overlap. About fifteen seconds, then Phase 1 resumes. Keep moving once the floor overlaps other skills. Stagger before intermission if you can, so floor segments stay dark.

Uniques: Farming table for The Butcher.

04 · Superior

Superior Lair

Belial alone. One Superior Lair Key. Usually from the Ambush after other Lair Hoards.

Belial, Lord of Lies

Superior · 1× Superior Lair Key · Lesser Evil

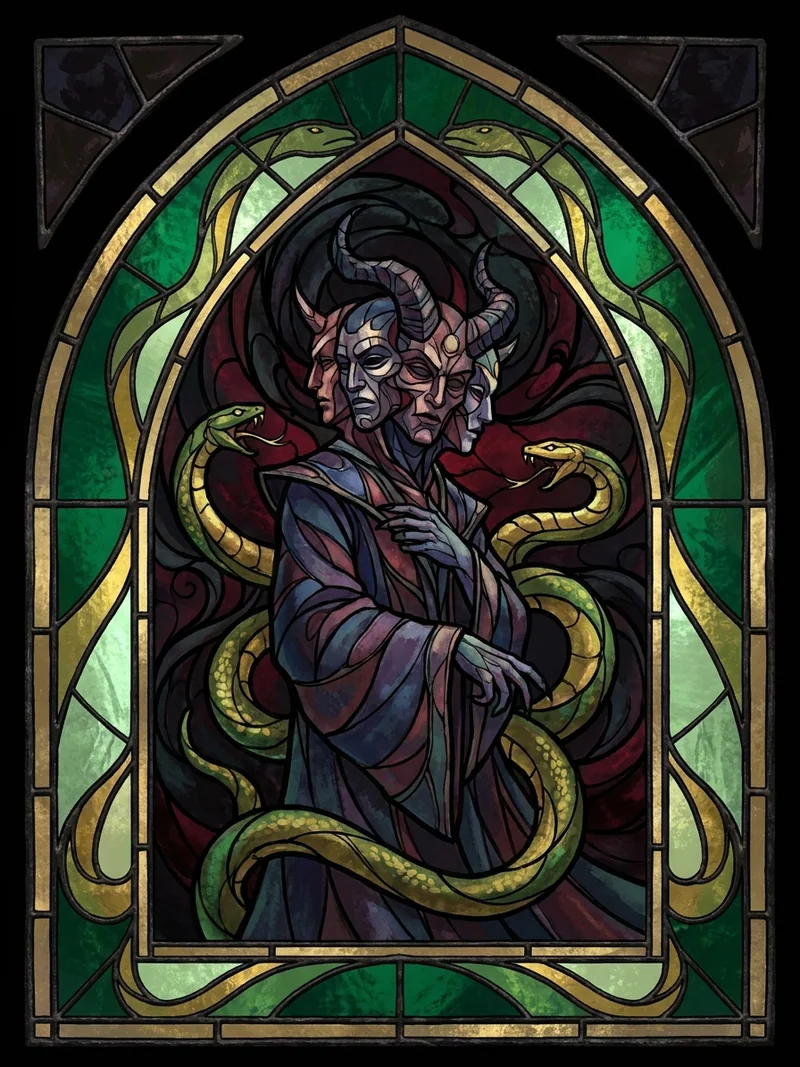
Lord of Lies, historically tied to deception and Caldeum. Season 8 brought him back as the Exalted Lair boss at the Palace of the Deceiver. You work with Sayeena and Jarius; his real motive stays murky. The Ambush after other Hoards is a different fight, and that is where Superior Keys usually come from.

Key cost

One Superior Lair Key. Older guides may still say two Betrayer's Husks. Those were renamed; the cost is one.

Palace fight

  • Where: Palace of the Deceiver, Kehjistan (west of Tarsarak). Torment 1+.
  • Resist: All / Shadow / Poison Resistance.
  • Abilities: Crushing Slam across the platform. Toxic Breath (devastating frontal sweep; stand opposite the start or teleport over). Poisonous Pools under fists and under you, then waves from those pools. Eye Beams: eyeballs create void zones in line of sight; stand where the eyes face away.

Ambush (different fight)

  • Detonating Crystal: leave the circle before it pops.
  • Deception decoys, Poisonous Blast, Arena of Deceit (deadly circle + decoys), Acid Rain (poison blobs; possible Nangari adds).
  • Ambush rewards include a Superior Lair Key and a second drop from the previous boss's table.

Hoard rule

Belial has no dedicated Unique table. When you open the Hoard you pick another Boss Ladder boss's table. The Hoard includes a guaranteed Ancestral Unique. Use Farming rows for whichever boss table you choose.

05 · Activity

Activity bosses

Not classic Lair rooms. Astaroth ends Escalating Nightmares. Bartuc waits at the end of Infernal Hordes.

Astaroth

Activity · 1× Escalation Sigil · Charred Duke

Duke of Hell who devastated Scosglen. Donan bound him in a soulstone until Lilith's machinations unleashed him again as the Act II climax. He returns in Escalating Nightmares with his infernal hound, the Amalgam of Rage.

Fight

  • Access: Fourth / final dungeon of an Escalating Nightmares run. Torment 1+. Cost row: one Escalation Sigil. Escalation Sigils come from Grand Horadric Caches after Horadric Strongrooms. Affixes from the Escalation sit on top of the boss kit.
  • Resist: Fire Resistance.
  • Phase 1 (mounted): Amalgam uses Fire Breath (three beams) and Lunge (three jumps). Astaroth uses Slash and Burn (slashes + detonating orbs into fireballs) and Rain of Chaos (meteors). They alternate. Kill the Amalgam to enter Phase 2.
  • Phase 2 (dismounted): Amalgam regenerates in the centre under a growing Pool of Blood. Astaroth chases with melee, edge meteors, Waves of Fire, Infernal Charge. Use edge safe spots as the pool expands. Killing Astaroth here ends it. If the Amalgam fully heals, Phase 3.
  • Phase 3 (both): Simultaneous kits plus Call the Pack, Enhanced Fire Breath, Teleport, Fire Storm. Focus Astaroth (killing him ends the encounter). Watch the Amalgam's circular leap telegraph. Respect Pool of Blood space loss.

Uniques: Farming table for Astaroth.

Bartuc

Activity · 1× Infernal Hordes Compass · Lord of Chaos

Infamous Vizjerei Warlord from the Mage Clan Wars. Season of Infernal Chaos returns him as Lord of Chaos, tied to the Fell Council and Mephisto's influence. He waits at the end of Infernal Hordes as the optional high-stakes pick versus the Fell Council.

Fight

  • Access: Complete Infernal Hordes waves at Torment 1+. Cost row: one Infernal Hordes Compass (opens the activity). At the end, spend 666 Burning Aether to choose Bartuc. First party member to select locks the choice. His rewards appear on the ground; no extra Aether to loot.
  • Elements: Fire, Lightning, Shadow.
  • Phase 1: Stays mostly centre. Seeking Embers (homing fire that accelerates). Arcing Walls (electrocuting fields + teleport pads; time the pads). Chaotic Barrage (projectiles through purple-to-red orb links). Intermission every chunk of his health.
  • Intermission (~30s): A vertical chaos wall splits the room (touching it is near-fatal). Shadow and fire waves rotate down each side. Teleport to the other side before fire waves pin you. Survive first; weave damage when safe.
  • Do: Track Seeking Embers during Barrage overlaps. Master the teleport pads. Never hug the dividing wall.

Uniques: Farming table for Bartuc.

06 · Also out there

World bosses and pinnacles

Not the Wave-1 Unique Lair ladder. Short stubs only. Full Unique farming stays on Farming.